Brooder Setup Basics for Day-Old Chicks
Published How we research
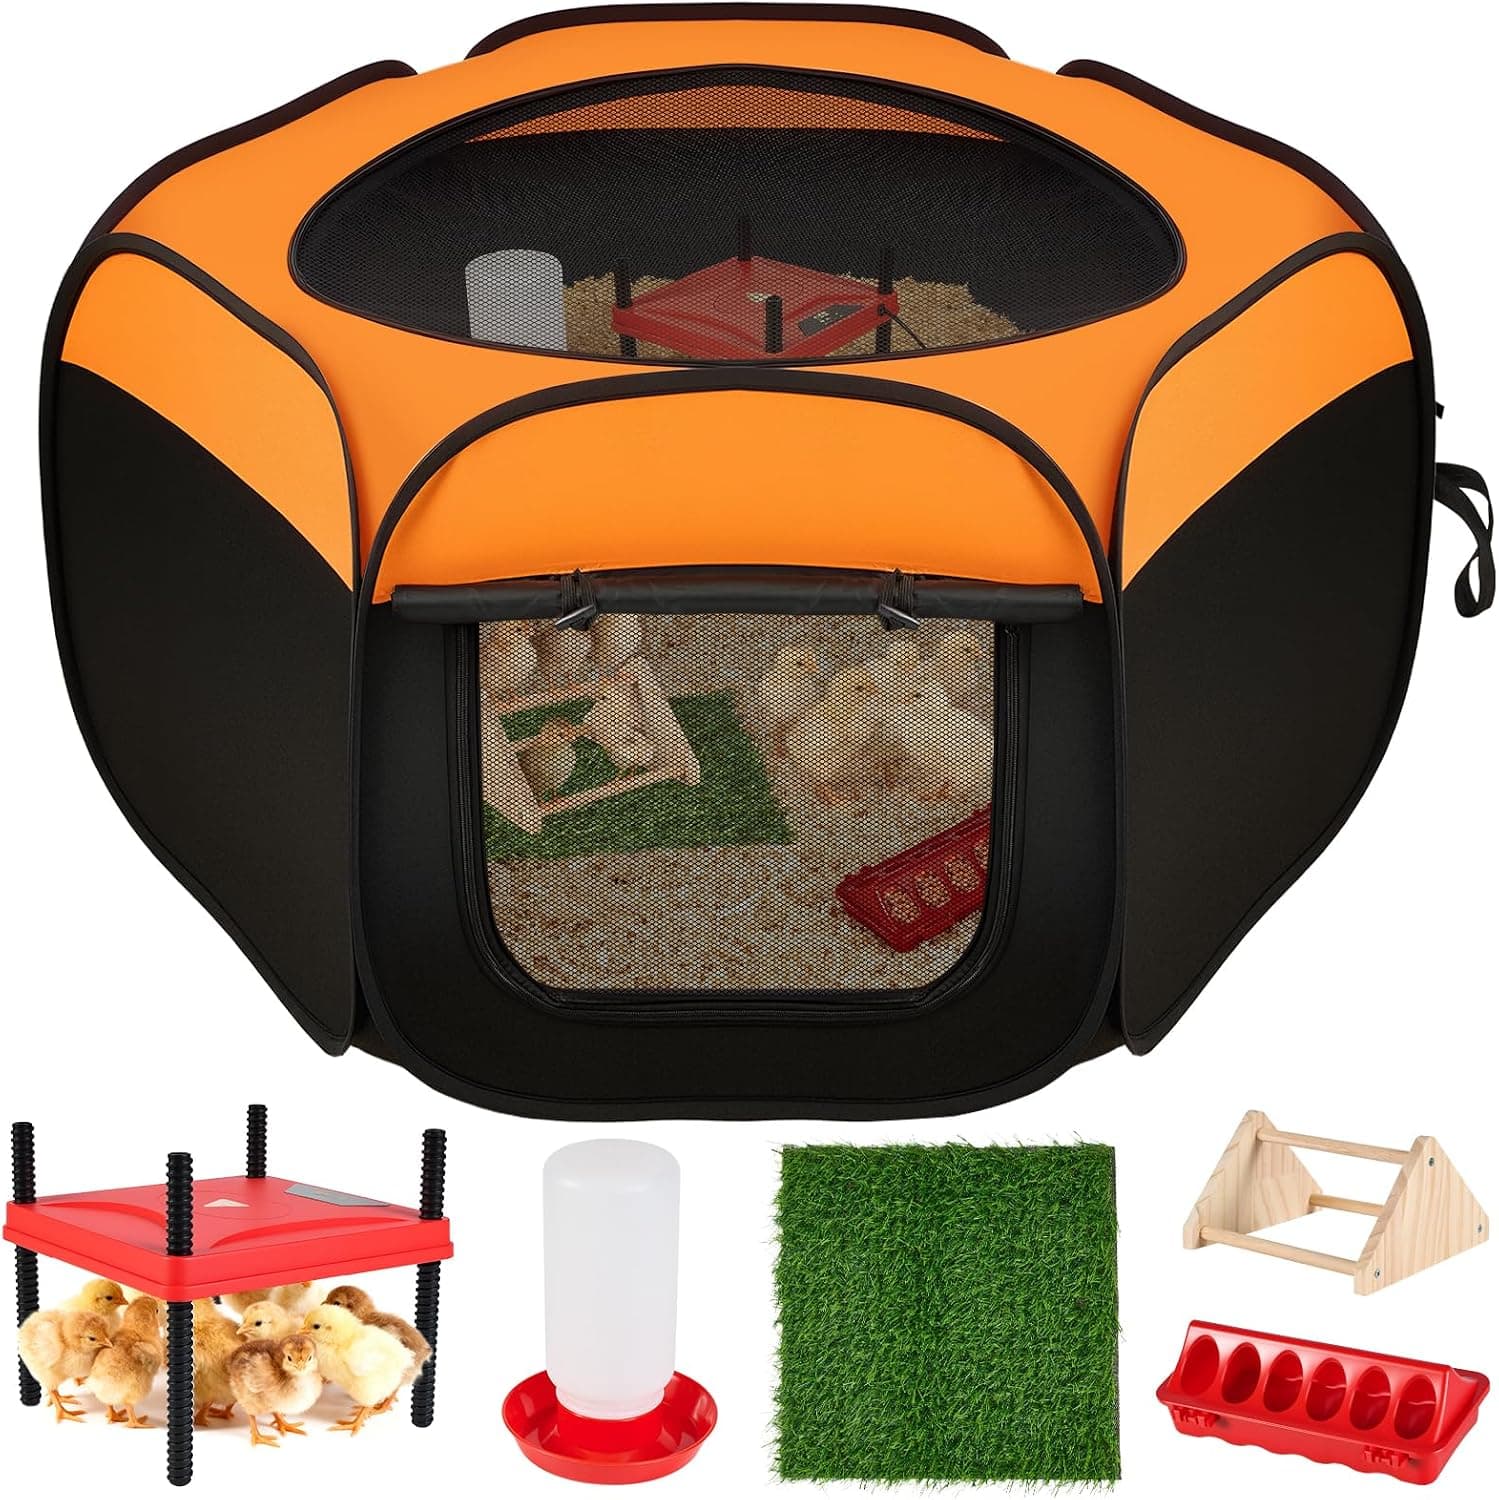
A brooder is simply a warm, dry, draft-free box where chicks live until they have grown their own feathers. It does not need to be expensive or elaborate, but it does need to get five things right: heat, clean water, appropriate feed, dry bedding and enough room. Set it up and run it for a day before your chicks arrive so you can confirm the temperature is stable and everything works.
Almost any clean, sided container works as the enclosure. Large plastic storage totes, galvanised stock tanks, sturdy cardboard boxes, wire dog crates lined with cardboard, and purpose-built wooden brooders are all common. What matters is that the walls are high enough that chicks cannot hop out once they start flying at two to three weeks, that there are no gaps a chick can wedge into, and that the sides block drafts at floor level. Round the corners with cardboard if you can, because chicks sometimes pile into corners and smother each other when they are cold or frightened. Plan for about half a square foot per chick at the start and roughly double that by four weeks, or simply start bigger than you think you need.
Heat is the part that deserves the most care. Radiant heat plates, which the chicks huddle underneath the way they would under a hen, are the safest common option: they run at a lower surface temperature, do not light the brooder all night, and greatly reduce fire risk. Traditional heat lamps work and are cheap, but they are the leading cause of coop and barn fires, so if you use one, secure it with a chain plus a second independent support, keep it well away from bedding and walls, and use a ceramic socket rated for the bulb. Whatever the source, set it at one end of the brooder so there is a warm zone and a cool zone. Chicks are excellent at choosing the temperature they need if you give them the choice.
Use the classic temperature ladder as a starting point: about ninety to ninety-five degrees Fahrenheit in the warm zone for the first week, then roughly five degrees lower each week until you reach ambient temperature at around five to six weeks. Confirm it with a thermometer at chick height, but trust the birds over the instrument. Chicks packed tight under the heat are cold. Chicks panting with wings held out at the far edges are too hot. Chicks spread across the whole brooder, eating, drinking, sleeping in loose groups and cheeping softly, are exactly right. Loud, persistent distress cheeping usually means cold, hunger or thirst.
Bedding should be absorbent and safe to walk on. Large-flake pine shavings are the usual choice. Avoid cedar shavings, which release oils that can irritate airways, and avoid slick surfaces like newspaper or bare plastic, which cause splayed legs in young chicks. For the first day or two, some keepers lay paper towel over the shavings so chicks learn to eat from the feeder rather than the bedding. Add fresh bedding as needed and change it whenever it becomes damp, because wet litter is where most brooder problems begin.
For food and water, use a proper chick feeder and a shallow chick waterer rather than open bowls, which get fouled and tipped instantly. Feed a complete chick starter and keep it available at all times. Put pebbles or clean marbles in the water tray for the first few days to stop the smallest chicks drowning, and raise both feeder and waterer slightly on a block as the chicks grow so bedding gets kicked into them less. Refresh water at least daily and scrub the container regularly.
Finally, add enrichment early and keep an eye on the flock. A low roost bar, a small clump of clean sod and a shallow tray of dry soil for dust bathing all give chicks something to do, which reduces the boredom pecking that leads to feather picking. Watch daily for pasted vents, lameness, laboured breathing or a chick that stops eating, and contact a poultry veterinarian or extension service if a bird is genuinely unwell.
Products from this article
The highest-scoring picks from the buying guides mentioned above. Scores are our editorial assessment, not customer ratings.
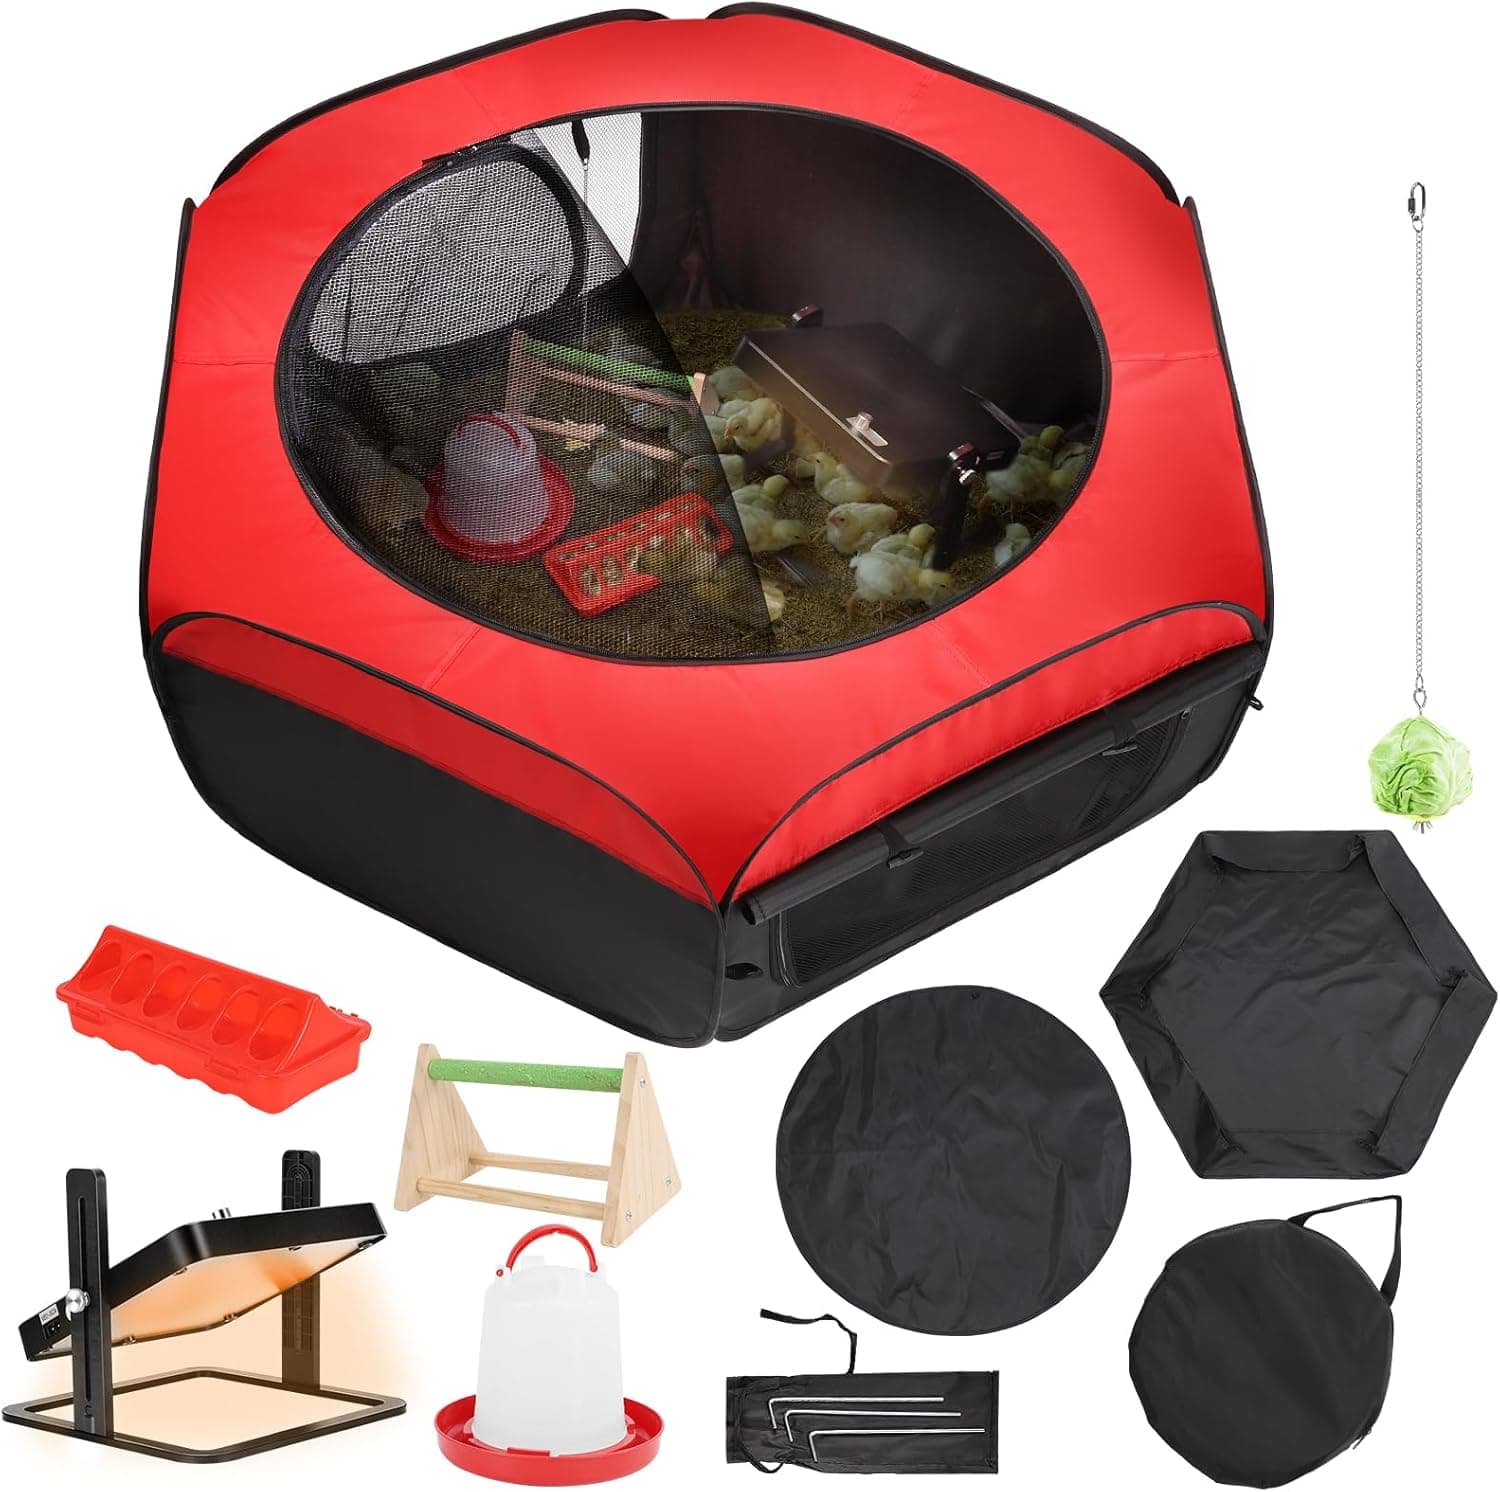
+ 10x10 in heating plate is included, a safer heat source than lamps
From our guide: Best Chick Starter Kits
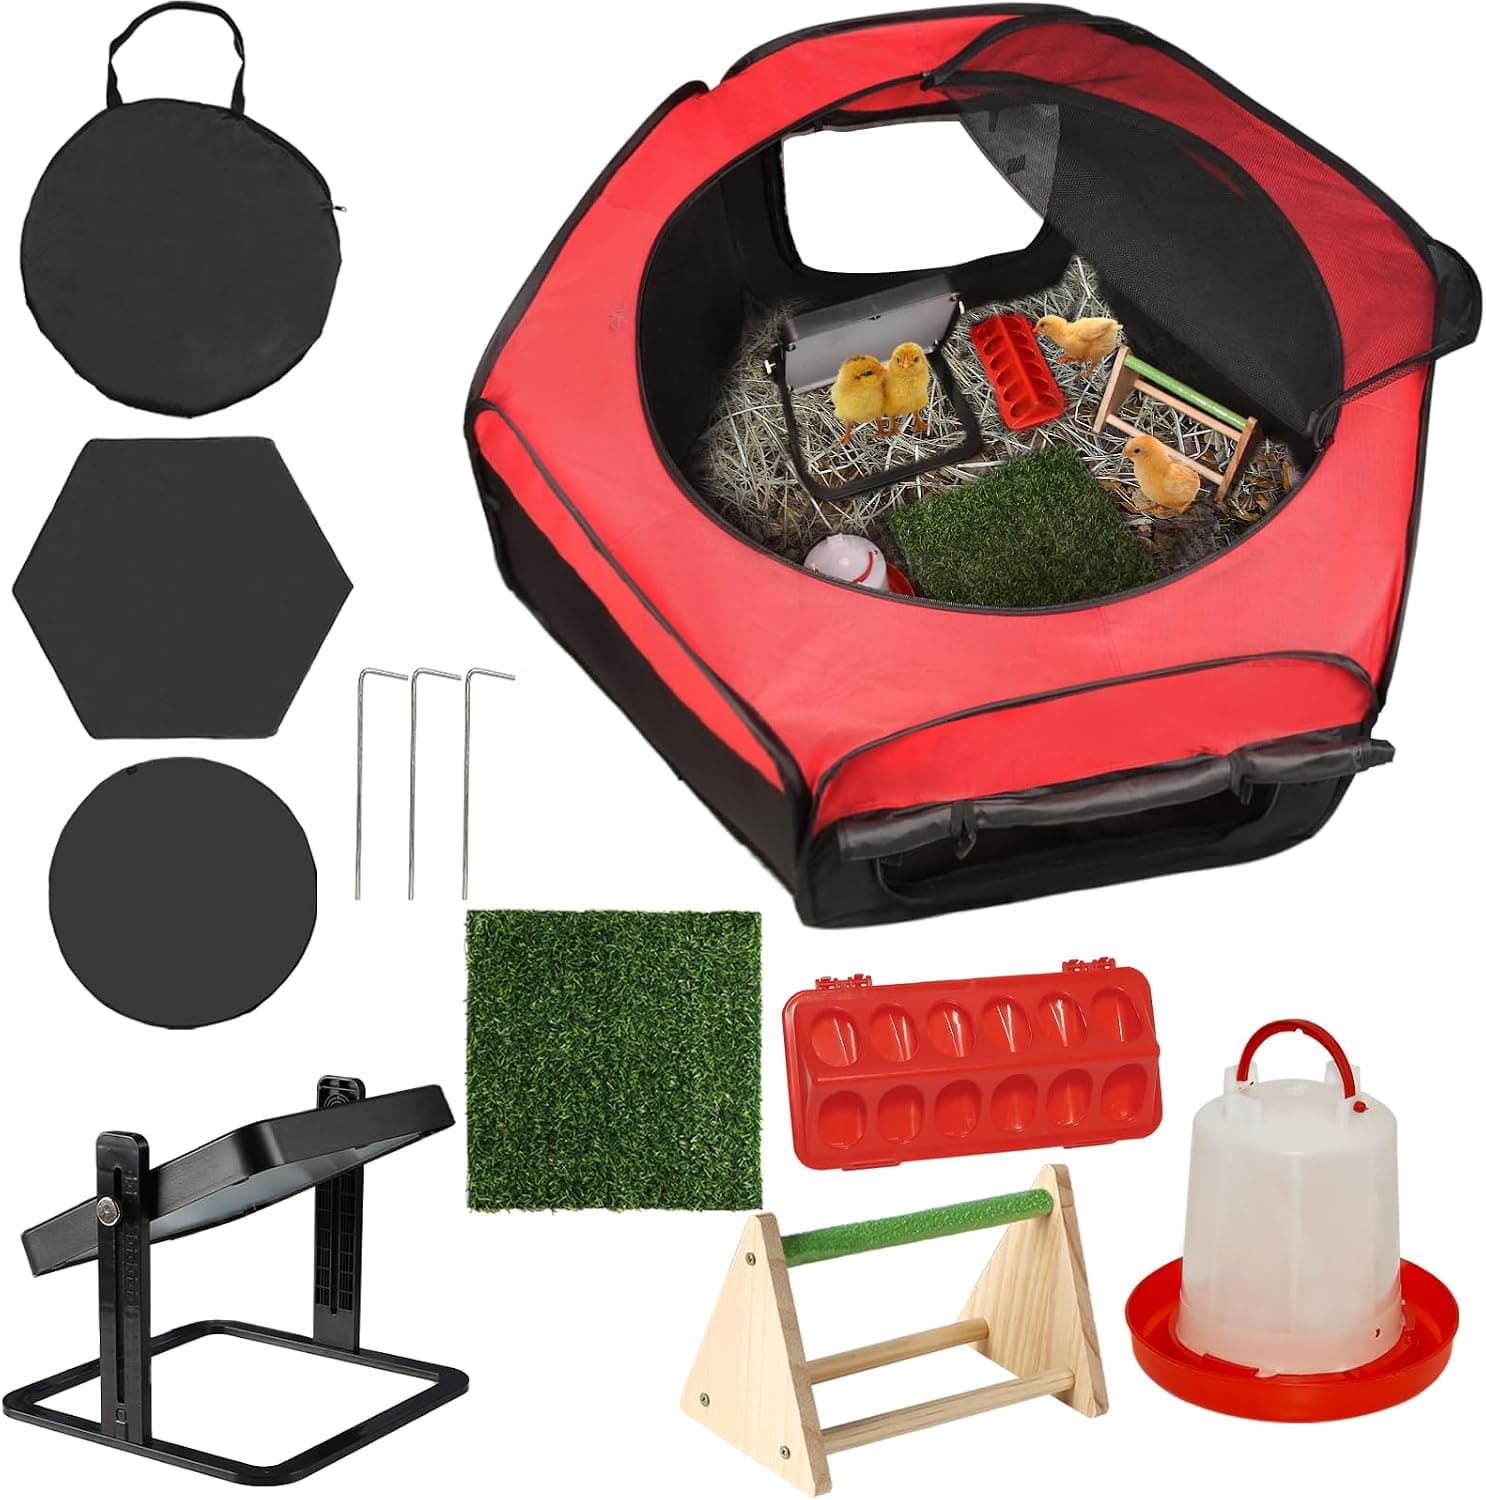
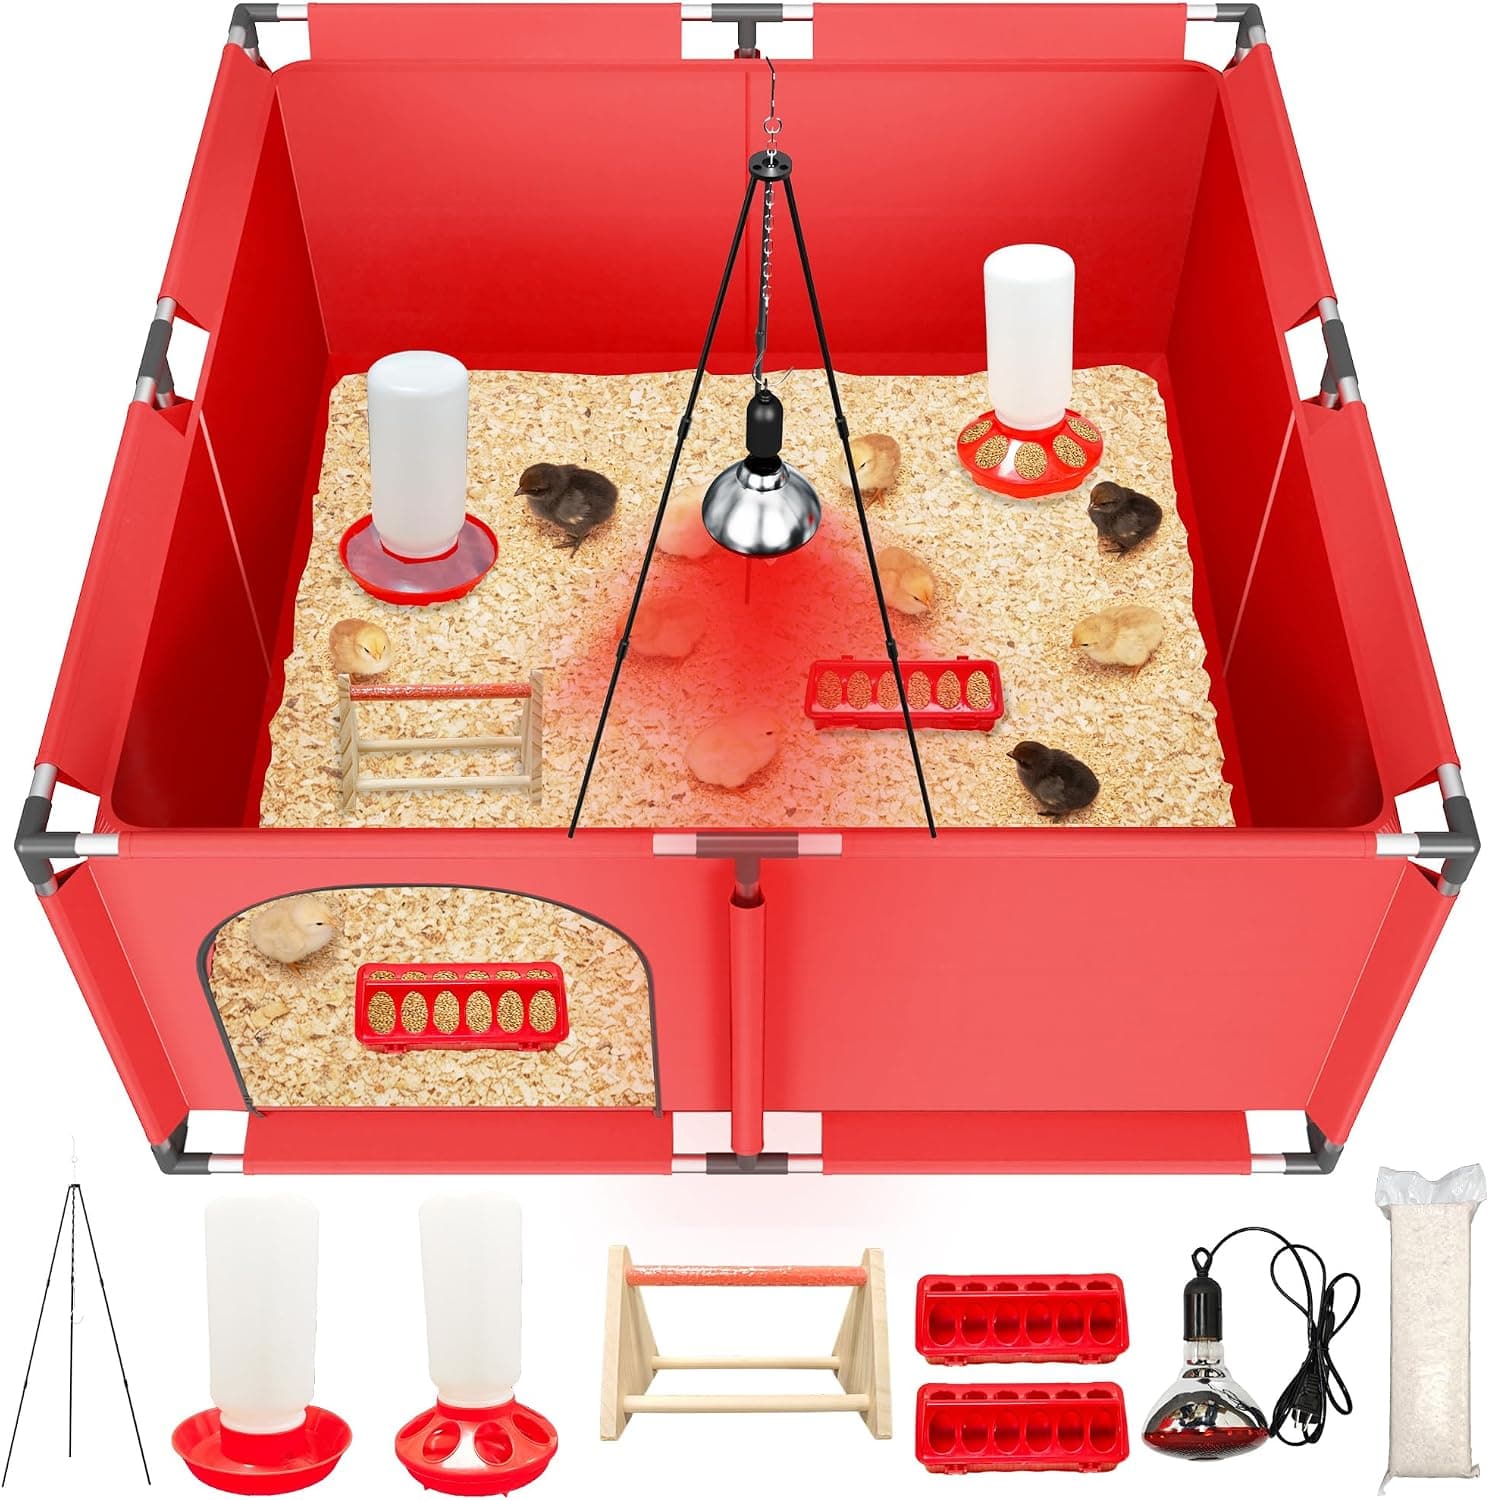
+ Room for up to 30 chicks suits larger hatches or group orders
From our guide: Best Chick Brooders for Raising Chicks
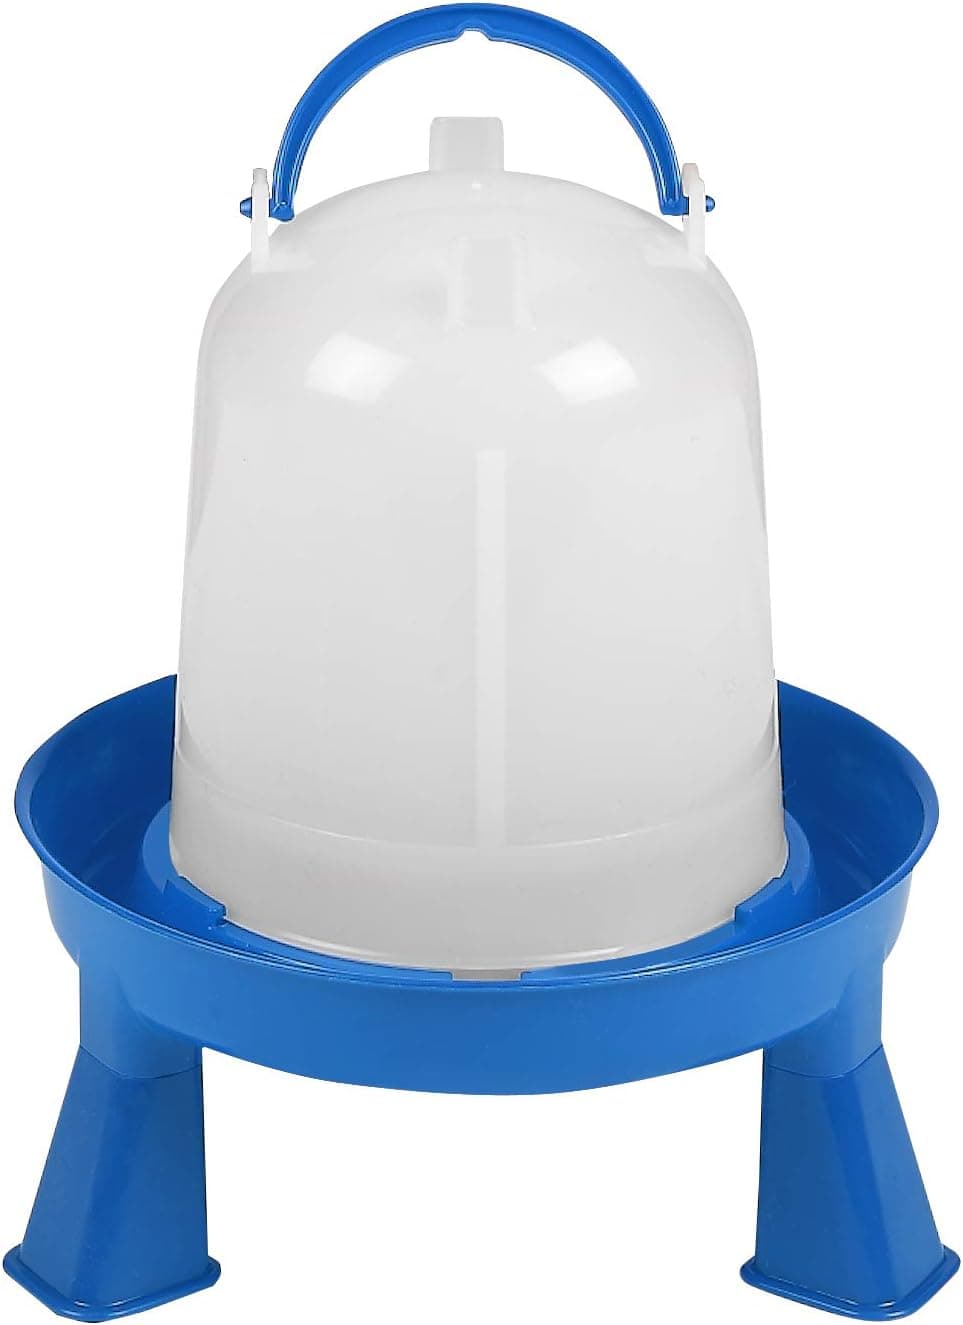
+ Legs lift the drinking area so shavings do not get kicked in
From our guide: Best Chick Waterers
+ Veggie hanger adds early enrichment that most kits leave out
From our guide: Best Chick Starter Kits
Popular right now
- Best Poop Trays for Under RoostsBuying guide
- How Much Space Chickens Need in the Coop and RunArticle
- Free Ranging Chickens SafelyArticle
- Composting Chicken Manure SafelyArticle
- Best Nesting Pads for Nest BoxesBuying guide
- The Deep Litter Method ExplainedArticle
Based on the last 28 days of search and visitor data.